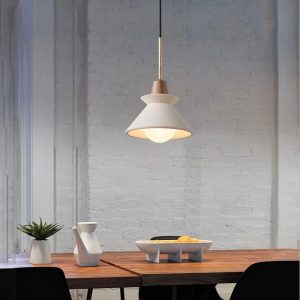
Mushroom lights are a whimsical and fun addition to any room. They provide a soft glow that adds to the ambiance of the room. However, they can be quite expensive to buy. Why not save some money and create your own mushroom lights? In this article, we will provide a step-by-step guide to create your very own mushroom lights.
Materials Needed
To create your own mushroom lights, you will need the following materials:
- Large round balloons
- White tissue paper
- Mod Podge
- Clear cellophane
- LED lights
- Scissors
- Paintbrush
Step-by-Step Instructions
Step 1: Create the Mushrooms
To create the mushroom shapes, blow up the balloons to the desired size. Cut the white tissue paper into small pieces. Dip the pieces of tissue paper into the Mod Podge and cover the balloon with the paper. Repeat until the entire balloon is covered. Let the balloon dry completely. Once dry, pop the balloon and remove it from the tissue paper mushroom.
Step 2: Adding Detail
Cut out the top of the mushrooms to create a hole. Cover the hole with the clear cellophane. Cut out circles from the tissue paper to create spots on the mushrooms. Use the Mod Podge to attach the tissue paper circles onto the mushroom. Let dry completely.
Step 3: Adding Light
Insert the LED lights into the mushroom through the small hole you created in step 2. Use a paintbrush to apply a thin layer of Mod Podge over the tissue paper spots to create a frosted effect. Let dry completely.
Step 4: Enjoy Your New Mushroom Lights
Turn on the LED lights to enjoy your new mushroom lights. You can place them in a decorative bowl, hang them from the ceiling or use them as a night light in the bedroom. The possibilities are endless.
Creating your own mushroom lights is a fun and easy DIY project. With just a few materials and some creativity, you can have your very own mushroom lights that add a unique touch to any room. So go ahead and give it a try, your new mushroom lights will be the talk of the town!

